 Largo Siding
 Safety Harbor Siding Takes a Different Kind of Beating
Safety Harbor sits close enough to Old Tampa Bay that homes here deal with a specific mix of weather stress most inland properties never see. Wind-driven rain off the water finds its way into seams and laps that would stay dry a few miles east. Salt-laden air corrodes fasteners and trim faster than manufacturers' generic warranty language accounts for. Add in Pinellas County's UV exposure, which runs close to year-round at Florida latitudes, and you get siding that fades, chalks, and stresses at the joints well before homeowners expect it to.
Hurricane season adds another layer. Even homes that never take a direct hit get repeatedly flexed and probed by tropical-storm-force gusts, and that repeated stress is often what turns a small installation flaw into a visible problem years later. None of this means siding is doomed in Safety Harbor — it means repairs here have to account for causes, not just symptoms.
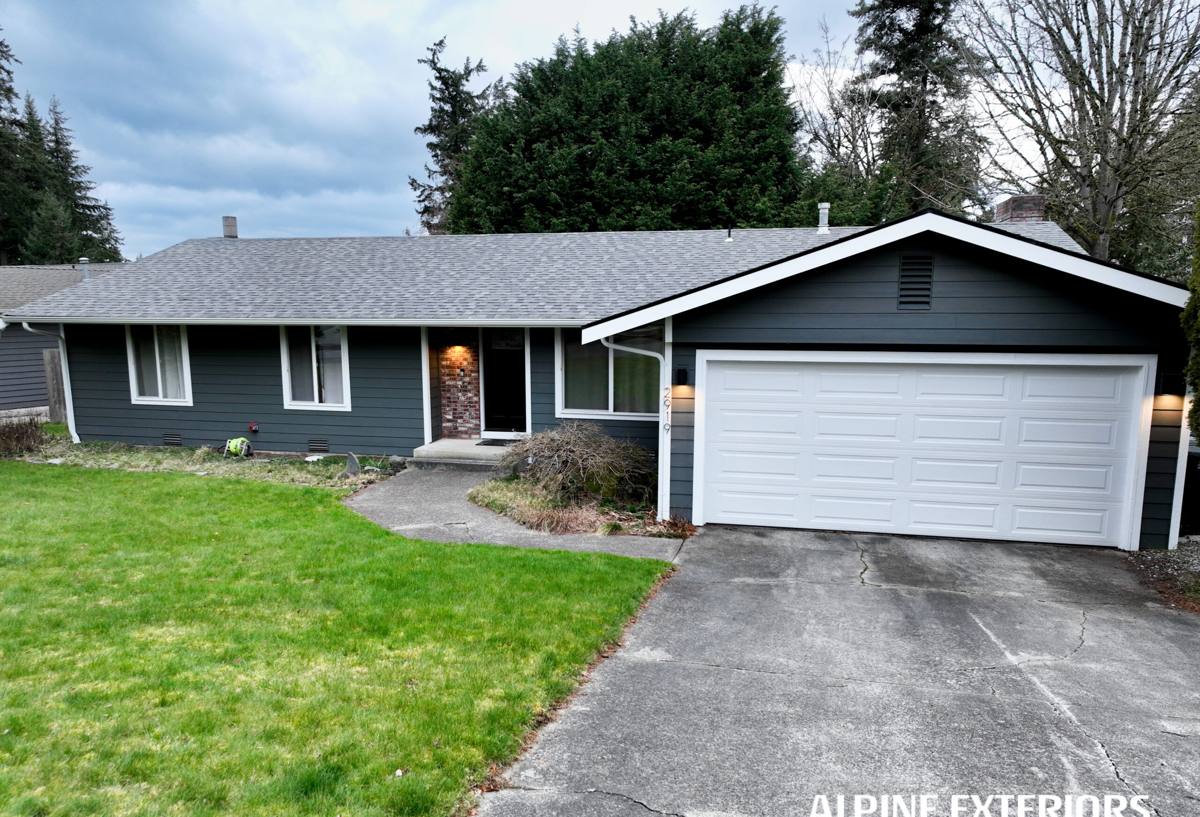
Signs Your Safety Harbor Home Needs Siding Repair
Most siding problems don't announce themselves as an emergency. They show up as small, easy-to-dismiss details that quietly point to bigger issues underneath.
- Cracked, warped, or bowed boards, especially on the sides of the house that catch the most sun or the most wind-driven rain
- Soft or spongy spots when you press on the siding near the bottom edge or around windows
- Paint that's peeling or bubbling in a localized patch rather than evenly across the whole wall
- Dark staining or streaking below window sills, corner trim, or seams
- Visible gaps opening up at butt joints or where siding meets trim, window casings, or the roofline
- Rusted or backed-out fasteners, particularly on walls that face the water or take the brunt of prevailing wind
- Any sign of insect activity or wood rot at the base of the wall, where moisture tends to collect
Water Intrusion vs. Cosmetic Damage
The distinction that matters most is whether damage is purely cosmetic or whether moisture has actually gotten behind the siding into the wall assembly. Faded color or minor caulk cracking is a maintenance item. Soft board, staining that keeps returning after cleaning, or a musty smell near an exterior wall usually means water has already reached the sheathing or house wrap, and the repair has to address that, not just the visible board.
When Repair Is the Right Call
Isolated damage — a section cracked by storm debris, a corner where flashing failed, a run of boards with fastener corrosion — is almost always a repair situation, not a full replacement. Full replacement becomes the honest recommendation when damage is widespread, when the underlying water-resistive barrier has failed in multiple areas, or when repeated repairs to the same section signal a design or installation problem that a patch won't fix. A contractor who tells you everything needs replacing without inspecting the wall assembly first isn't doing you any favors — and neither is one who patches over rot to avoid a harder conversation.
What a Correct Siding Repair Actually Involves
A siding repair done right is a small construction project, not a cosmetic patch. Skipping steps here is exactly how a five-year-old repair fails again in year two.
Diagnosing the Root Cause First
Before any board comes off, the job is figuring out why that section failed. Was it a flashing detail that let water behind the siding? A fastener pattern that let boards move and crack under wind load? Caulk that failed at a butt joint and let rain track down the wall? Replacing the visible board without fixing the underlying cause just buys a few more years before the same spot fails again.
Removing and Inspecting Behind the Damaged Section
Once the damaged siding is off, the house wrap or building paper underneath gets inspected for tears, staining, or gaps. Any compromised barrier gets repaired or replaced before new siding goes back up — this is the step that gets skipped by crews trying to move fast, and it's the step that determines whether the repair actually lasts.
Matching Existing Siding
Matching profile, reveal, and color to the rest of the wall is its own challenge, especially on older homes where the original siding has faded unevenly or is no longer available in the same profile. On a James Hardie home, matching is more straightforward because the HZ5 product line and ColorPlus finish system are manufactured to consistent, documented specs — but color matching against sun-faded existing boards still takes an experienced eye, and sometimes a broader section needs to be addressed together for the new material to blend properly.
Why We Repair — and Replace — With James Hardie Fiber Cement Only
We install and repair with James Hardie fiber cement exclusively. We don't work with vinyl, LP SmartSide, Cemplank, Allura, or primed wood siding, and that standard applies to repair work the same way it applies to new installs.
The reasoning is practical, not brand loyalty. Fiber cement is non-combustible and dimensionally stable in a way vinyl and engineered wood products aren't — it doesn't warp, melt, or absorb water the way those materials can under sustained Florida heat and humidity. Hardie's HZ5 product line is specifically engineered for high-humidity, high-moisture climates like ours, and the ColorPlus factory finish is baked on under controlled conditions, which holds color and resists cracking better than field-applied paint over the long run. It also carries a strong, transferable limited warranty when installed to Hardie's specifications — which matters on a repair, because a patch that isn't installed to spec can void warranty coverage on the rest of the wall.
What This Means for a Repair Job Specifically
If your home already has James Hardie siding, a repair is a clean, like-for-like fix — we match the existing profile and finish and the repaired section performs exactly like the rest of the wall. If your home currently has a different siding material and it's failing in a way that's more than isolated damage, we'll be honest with you about that: we can discuss transitioning the affected wall or the home to fiber cement, but we won't install vinyl or engineered wood patches to keep a failing system limping along. That's a standard we hold across every job, not just new construction.
Our Siding Repair Process for Safety Harbor Homes
- On-site inspection. We look at the damaged area and the surrounding wall, not just the spot you called about, since Safety Harbor's wind-driven rain often affects more of a wall than what's visible from the ground.
- Root-cause diagnosis. We identify whether the failure is a flashing issue, a fastening issue, a caulking failure, or moisture intrusion, and explain what we find in plain terms.
- Written scope and estimate. You get a clear description of what's being repaired, what material is being used, and an honest cost range before work starts.
- Removal and barrier inspection. Damaged siding comes off and the house wrap or sheathing underneath gets checked and repaired if needed.
- Repair and refastening. New James Hardie material goes in, fastened to manufacturer spec, with corrected flashing or sealant details at the failure point.
- Finish and cleanup. Trim, caulking, and touch-up finishing are completed so the repair blends with the surrounding siding, and the site is cleaned up.
What Siding Repair Typically Costs — and Why
Every repair is different, but the same handful of factors drive cost up or down on almost every job we look at in Pinellas County.
| Cost Factor | Why It Matters |
|---|---|
| Extent of damage | A single cracked board costs far less than a wall section with hidden moisture damage behind multiple boards |
| Condition of the water-resistive barrier | If house wrap or sheathing needs repair, that adds labor and material beyond the visible siding |
| Height and accessibility | Second-story or hard-to-reach sections require additional equipment and labor time |
| Color and profile matching | Older or sun-faded siding can require broader replacement to avoid a visible patch line |
| Underlying cause | Fixing a flashing or fastening defect properly takes more time than a straight board swap, but prevents repeat failure |
Why a Crew That Already Works Safety Harbor Matters
Siding repair isn't just a materials question — it's a familiarity question. A crew that regularly works Safety Harbor and the surrounding Pinellas County area already understands how Tampa Bay's wind-driven rain patterns tend to hit specific wall orientations, how salt air accelerates fastener corrosion faster than it does further inland, and what Pinellas County permitting and inspection expects for exterior repair work. That local pattern recognition shortens the diagnosis step and reduces the odds of missing a related issue nearby.
It also means being available when storm season actually causes damage. A contractor who knows the area and has existing relationships with local suppliers can usually get James Hardie material and get a crew on-site faster than one working the region for the first time — which matters when a damaged section is left exposed to more wind-driven rain every day it sits unrepaired.
Maintaining Your Siding After a Repair
A correctly executed repair should last as long as the surrounding siding, but a little upkeep protects that investment. Rinse siding periodically to remove salt residue, especially on walls facing open water or prevailing wind. Keep an eye on caulk lines at trim and window joints, since UV and heat cycling will eventually dry out sealant faster here than in milder climates. And if you notice staining or soft spots returning in the same area, call it in early — catching a recurring issue while it's small is always cheaper than letting it become a wall-section repair.
If you're seeing cracked boards, soft spots, or recurring staining on your Safety Harbor home, we're happy to take a look and give you a straight answer about what's actually going on — no pressure, no upsell. Reach out for a free estimate using the form below.