 Largo Siding
 Roof Damage After a Storm Looks Different on a Redington Shores Home
Redington Shores sits right on the barrier island strip of Pinellas County, which means every roof here takes a beating that inland Largo homes simply don't see. Wind-driven rain comes off the Gulf sideways, salt spray settles into every exposed fastener and flashing seam, and the sun overhead is close to intense enough to bake shingles and underlayment year-round. When a named storm or even a strong summer squall line rolls through, the damage on a beachside roof is rarely limited to what you can see from the driveway.
We've worked on roofs up and down this stretch of Pinellas County long enough to know that storm damage here has a pattern. It's worth understanding before you decide whether a repair, a partial re-roof, or a full replacement is the right call.
What Storms Actually Do to a Barrier Island Roof
- Wind uplift at the edges and corners of the roof, where shingles or tiles are most exposed — this is almost always where failures start, not in the field of the roof.
- Driving rain forced up and under shingle tabs or tile laps by sustained wind, finding any gap in the underlayment or flashing.
- Granule loss on asphalt shingles from wind abrasion and hail-sized debris, which accelerates UV breakdown of the shingle underneath.
- Cracked or slipped tiles from wind-thrown debris, which is common on the barrier islands given how much loose material can become airborne during a storm.
- Flashing separation around chimneys, vents, and roof-to-wall transitions, especially on older homes where sealant has already dried out from years of sun exposure.
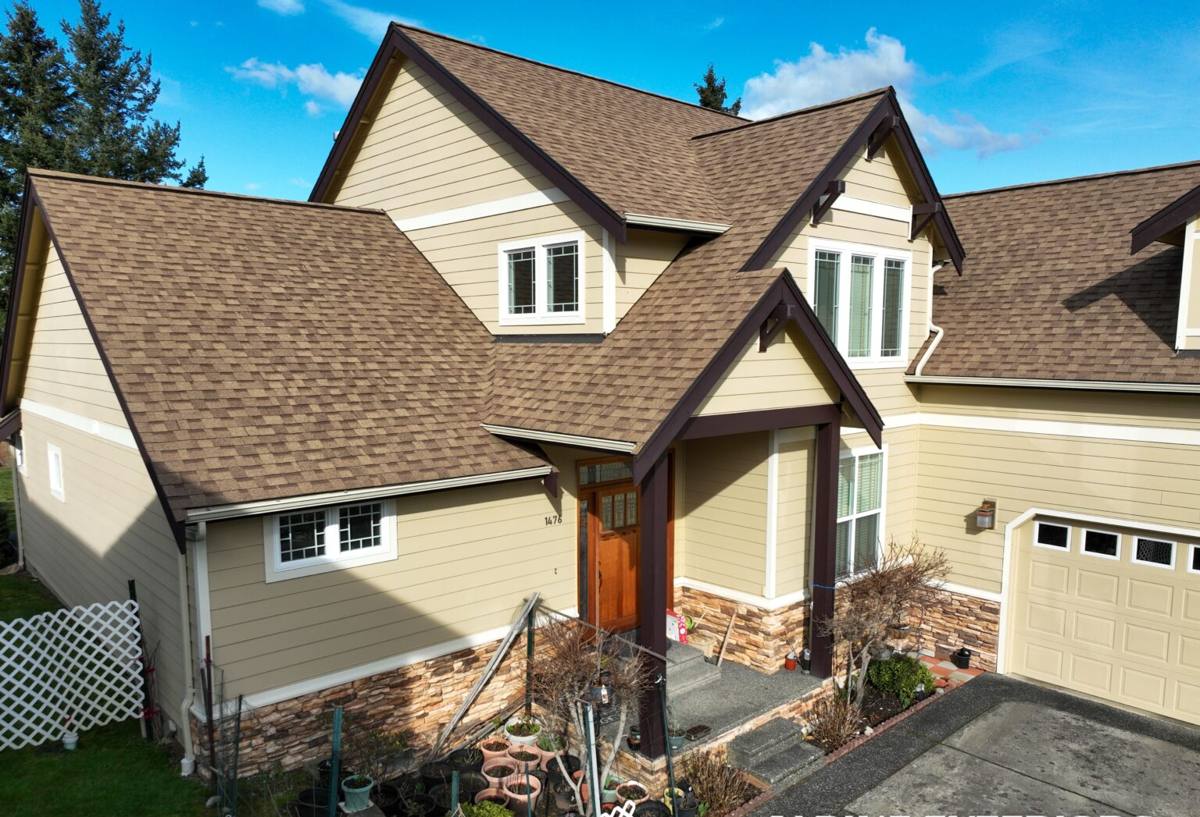
Why Redington Shores Homes Need a Different Approach Than Inland Repairs
A roof repair that would hold up fine in central Largo doesn't always hold up a few miles west on the beach. The difference comes down to three things: wind exposure, salt air, and moisture cycling.
Wind Exposure
Redington Shores gets less buffering from trees and other structures than inland neighborhoods, so wind speeds at roof level during a storm are typically higher here than they are just a few miles inland. That matters for repair work because fastener patterns, flashing details, and even the type of underlayment used need to account for higher uplift forces, not just whatever the original builder used decades ago.
Salt Air
Metal flashing, fasteners, and vent boots corrode faster this close to the Gulf. A repair that reuses corroded flashing or standard fasteners because they "still look okay" is a repair that fails again within a couple of storm seasons. We spec corrosion-resistant fasteners and flashing on barrier island work as a matter of course, not as an upsell.
Moisture Cycling
Between afternoon thunderstorms, high humidity, and salt-laden air, materials on a beachside roof are almost never fully dry. That constant damp-dry cycling is hard on underlayment and decking, so what looks like a small leak repair can uncover softened decking or breaking-down underlayment underneath once we actually get the roof covering pulled back.
How to Tell If Your Roof Has Storm Damage
Not all storm damage announces itself with an active leak. Some of the most costly damage is the kind that sits quietly for months before it shows up as a stain on a ceiling or a soft spot underfoot. After any significant wind or rain event, it's worth checking for:
- Missing, lifted, or curling shingles, or cracked and displaced roof tiles
- Granules collecting in gutters or at downspout outlets
- Visible daylight or gaps around vent boots, chimney flashing, or skylight curbs
- New or worsening ceiling stains, especially near exterior walls or roof penetrations
- Soft or spongy spots when walking the roof (we check this — homeowners shouldn't)
- Debris impact marks, dents in metal flashing or vents, or bruising on shingles
- Sagging in the roofline, which can indicate decking damage that's gone unaddressed
If you see any of these after a storm, the honest move is to get it looked at promptly. Roof damage that sits exposed through a few more rain events almost always costs more to fix than the same damage caught early.
Our Storm Damage Repair Process
1. On-Site Assessment
We start with a full roof inspection, not just a look at the spot where the leak showed up inside. Storm damage often has more than one point of entry, and on a tile or shingle roof, wind can lift and displace material in more places than the one causing the visible leak. We check the roof covering, flashing, vents, and — where we can safely access it — the attic or roof deck from underneath.
2. Honest Scope, in Writing
We tell you what we found, what needs to happen, and what it will cost, before any work starts. If it's a straightforward flashing or shingle repair, we say so. If the damage is more extensive — soft decking, widespread granule loss, or underlayment failure — we explain why a full section replacement or larger repair is the more durable option, and why a patch would likely fail again in the next storm season.
3. Insurance Documentation
If you're filing an insurance claim, we document the damage with the kind of detail adjusters need — photos, measurements, and a clear description of what the storm caused versus pre-existing wear. We work alongside your claim, not instead of it, and we won't inflate a scope to chase a bigger payout. That's not how we want to be known in this community.
4. The Repair Itself
Depending on the damage, this might mean replacing a section of shingles or tiles, reworking flashing at a chimney or wall transition, or replacing damaged underlayment and decking before the roof covering goes back down. On barrier island homes we default to corrosion-resistant fasteners and flashing, and we match underlayment and fastening patterns to the wind exposure here, not to a generic inland spec.
5. Final Check and Cleanup
We walk the completed repair with you, confirm there's nothing left loose or exposed, and clean the site — including a magnetic sweep for stray fasteners, which matters on a property near sand and bare feet.
Repair vs. Replacement: How We Help You Decide
Not every storm-damaged roof needs to come off. But on a barrier island roof that's already 15-20 years old, storm damage is sometimes the moment that makes clear a repair is just delaying the inevitable. Here's how we think through it:
| Factor | Leans Toward Repair | Leans Toward Replacement |
|---|---|---|
| Roof age | Under 10-12 years | Approaching or past manufacturer's expected service life |
| Extent of damage | Isolated to one section or slope | Spread across multiple slopes or the whole roof |
| Decking condition | Solid, dry decking under the damaged area | Soft, delaminated, or water-stained decking found during repair |
| Underlayment condition | Intact elsewhere on the roof | Brittle or failing in multiple spots, common past 15+ years in this climate |
| Insurance scope | Claim covers a defined repair area | Adjuster's scope already points to full replacement |
| Storm history | First significant damage event | Repeat repairs on the same roof over recent seasons |
We'll give you our honest read on where your roof falls on that table. If a repair is genuinely the right call, that's what we'll recommend and price — we don't push replacements on roofs that don't need them.
Materials We Use for Storm Repairs Here
For asphalt shingle roofs, we match the existing shingle line as closely as possible and use high-wind-rated shingles when a section is being replaced, since matching an older, lower-rated shingle just reintroduces the same vulnerability. For tile roofs, we source replacement tiles that match profile and color as closely as the market allows, and we pay close attention to the underlayment and fastening system underneath — on tile roofs, the underlayment is doing most of the actual weatherproofing work, and it's often the underlayment, not the tile, that failed in the storm.
For flashing and metal components, we use corrosion-resistant materials suited to a salt air environment. This is a small cost difference on a repair invoice but a real difference in how long the repair lasts on a home this close to the Gulf.
A Practical Pre-Storm Checklist
Between storm seasons, a few simple checks can catch small issues before they become storm-driven emergencies:
- Look for lifted, cracked, or missing shingles or tiles from the ground with binoculars
- Check that gutters and downspouts are clear so water isn't backing up under roof edges
- Look for daylight or gaps around roof penetrations from inside the attic, if accessible
- Note any new ceiling stains and address them before storm season, not after
- Have flashing and sealant around chimneys and vents checked every couple of years, since sealant dries out faster in this sun and salt exposure
Why It Matters to Hire a Crew That Already Works This Area
A roofing crew that mostly works inland jobs may not think twice about using standard fasteners or skipping the corrosion-resistant flashing upgrade — because on most of their jobs, it doesn't matter. On a Redington Shores roof, it does. We work Pinellas County's beach communities regularly enough to know which details actually hold up out here and which ones look fine on install day but fail within a season or two.
There's also a response-time factor. After a significant storm, demand for roof repair spikes across the whole county, and crews without local roots often prioritize the jobs closest to their base of operations. Being an established Largo-area contractor means Redington Shores isn't an afterthought on our route.
Get a Free, No-Pressure Estimate
If your roof took a hit in a recent storm — or you just want an honest look before the next one — we're glad to come out, walk the roof, and tell you plainly what we find. There's no obligation and no pressure to sign anything on the spot. Fill out the form below and we'll get in touch to schedule a time.