 Largo Siding
 Why Siding Fails Faster on Treasure Island
Treasure Island sits on a barrier island in Pinellas County, with Gulf water on one side and the Intracoastal on the other. That location is exactly what makes it a beautiful place to own a home — and exactly why siding takes more abuse here than it does a few miles inland in Largo. Salt-laden air moves across these lots constantly, wind-driven rain finds every gap in a wall system during storms, and the sun beats down on painted and coated surfaces essentially year-round. None of that damage happens overnight. It shows up as small, specific problems that get worse the longer they sit.
A siding repair on a barrier island property isn't the same job as a siding repair three or four miles inland. The moisture load is higher, the corrosion on fasteners and trim accessories happens faster, and a repair that doesn't account for salt exposure often fails again within a couple of years. Understanding what's actually happening to the wall before you fix it is the difference between a repair that lasts and one you're paying for twice.
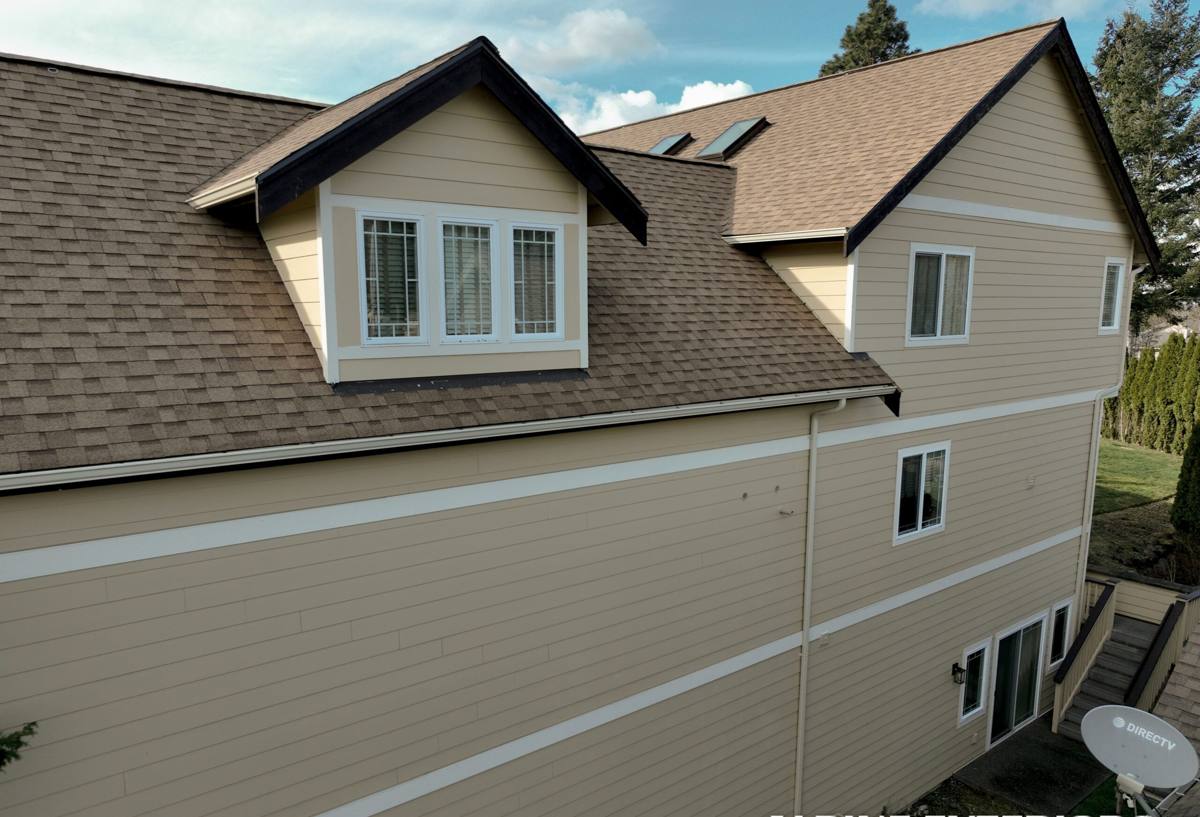
How Coastal Exposure Actually Damages Siding
Salt Air and Corrosion
Airborne salt settles on every exterior surface, including siding, trim, fasteners, and flashing. On materials that aren't built to handle it, salt accelerates corrosion of nails and screws, breaks down caulk and sealant faster than it would inland, and can pit or discolor certain finishes over time. A repair that reuses corroded fasteners or ignores this exposure is a short-term fix.
Wind-Driven Rain
Standard rainfall lands mostly straight down. Wind-driven rain during a coastal storm hits siding sideways and gets pushed upward into seams, laps, and trim joints that were never designed to shed water horizontally. This is how water gets behind siding without any obvious crack or hole on the surface — the damage starts hidden and only becomes visible once it reaches sheathing or interior drywall.
UV and Heat Cycling
Florida sun is intense nearly every month of the year. UV exposure breaks down unprotected wood fibers, fades and chalks lower-quality paint finishes, and dries out caulking at seams and penetrations. Add daily heat-and-cool cycling and you get expansion and contraction that works fasteners loose and opens hairline gaps at joints — gaps that are small until wind-driven rain finds them.
Signs a Treasure Island Home Needs Siding Repair
- Soft, spongy, or crumbling spots when you press on the siding, especially near the bottom of walls or below windows
- Visible cracking, splitting, or buckled panels, particularly on walls that face the water or catch prevailing wind
- Peeling paint, bubbling finish, or chalky residue that wipes off on your hand
- Rust streaks running down from fastener heads or trim pieces
- Gaps opening up at seams, corners, or where siding meets window and door trim
- Discoloration or dark staining that suggests moisture is getting trapped rather than shedding off
- Soft or discolored drywall, trim, or flooring on the interior side of an exterior wall
Any one of these on its own might be minor. Several together, especially on a wall that takes direct salt spray or storm-driven rain, usually means moisture has already gotten past the surface layer.
What a Correct Siding Repair Actually Involves
Find the Cause, Not Just the Symptom
Patching a visible crack or swapping a damaged panel without figuring out why it failed is the most common shortcut in this trade — and the most common reason homeowners end up calling someone back out a year later. A proper repair starts by tracing water intrusion back to its source: a failed seam, a gap in flashing, caulking that's dried out, or a fastening pattern that never should have been used this close to the water.
Check What's Behind the Siding
If moisture has been getting in for a while, the siding itself may be the least of the problem. Sheathing, house wrap, and framing behind the damaged area need to be checked and, if compromised, dried out or replaced before any new siding goes back on. Closing up a wall over wet or rotted sheathing just hides the problem for a while.
Match the Material and the Installation Detail
Repairs need to match the existing siding in profile, reveal, and finish, and they need to be fastened and flashed correctly for a coastal wall — not just fastened the way the original installer happened to do it, especially if that's part of why it failed. This is also where the choice of siding material starts to matter for the repair itself, not just for a full replacement.
Repair or Replace? How to Think About It
Not every problem area needs a full re-side, and not every repair is worth doing on its own. The right call usually comes down to how much of the wall system is affected and how old the existing siding already is.
| Situation | Repair Usually Makes Sense | Replacement Usually Makes Sense |
|---|---|---|
| Damage location | Isolated to one or two panels or a single wall section | Spread across multiple walls or the whole elevation |
| Underlying structure | Sheathing and framing are sound once opened up | Rot or moisture damage extends through sheathing in several areas |
| Age of existing siding | Siding is relatively young and otherwise in good condition | Siding is at or past its expected service life |
| Material | Material still performs well and matching stock is available | Existing material is discontinued, mismatched, or a poor fit for coastal exposure |
| Storm history | No history of repeated storm or moisture damage in that area | Recurring failures in the same spot after past storms |
We'll always tell you honestly which side of that table your home falls on. A patch that's likely to fail again within a couple of storm seasons isn't a favor to you — it just delays a bigger job and adds to the total cost.
Why We Repair With James Hardie, Not Whatever's Already There
Largo Siding Company installs James Hardie fiber cement siding exclusively — we don't install vinyl, LP SmartSide, primed spruce, cedar, or other fiber cement brands. When a repair calls for new material, that's what we use, and there's a practical reason for it beyond preference. Hardie's HZ5 product line is engineered specifically for hot, humid, moisture-heavy climates like ours, it's non-combustible, and it holds up to the freeze-free but salt-heavy, storm-prone conditions on a barrier island better than wood-based or vinyl alternatives over the long run.
If your home currently has vinyl, wood, or another fiber cement brand, we'll still repair it honestly and match it where that's the right call for your budget and timeline. But if you're facing a repair on a wall section that's failed more than once, or a full re-side is on the table anyway, it's worth understanding why we standardized on Hardie before you decide what goes back up. Factory-applied ColorPlus finish resists the fading and chalking that UV and salt air cause faster here than inland, and the material doesn't rot, swell, or feed pests the way wood-based siding can.
Our Repair Process
1. On-Site Inspection
We look at more than the spot you called about — we check the whole elevation, the trim, the flashing, and the areas most exposed to wind and water, since coastal damage rarely stays isolated.
2. Honest Assessment
You get a straight answer on whether this is a targeted repair, a larger section replacement, or something that points toward a full re-side down the road — along with the reasoning behind it.
3. Address the Cause
Before anything new goes up, we correct whatever let moisture in the first place — flashing, sealant, fastening pattern, or wall detail — so the same failure doesn't repeat in the same spot.
4. Repair and Match
New material is installed to current best practice for coastal exposure, matched to your existing siding's look wherever full replacement isn't happening.
5. Clean Finish
We leave the area finished and weather-tight, not just patched — including caulking, paint touch-up where applicable, and a final check for anything we may have missed.
Why It Matters to Hire a Crew That Already Works This Island
Barrier island homes come with logistics that inland Largo properties don't: narrow lots, tighter access for equipment and material staging, local permitting and inspection processes, and in many cases flood zone or elevation considerations that affect how repairs are detailed at the base of a wall. A crew that regularly works Treasure Island and the surrounding Pinellas County coastline already knows these details going in, instead of learning them on your job.
Just as important is understanding what "normal wear" looks like on a barrier island wall versus what's actually a red flag. A contractor who mostly works inland can miss early signs of salt-driven corrosion or underestimate how fast a small gap becomes a real moisture problem this close to the Gulf. Local, repeat experience on the island isn't a marketing line — it changes what gets caught during an inspection.
A Quick Checklist Before You Call Anyone
- Note exactly where you're seeing damage — which wall, and whether it faces the water or prevailing wind
- Check inside on the corresponding interior wall for soft drywall, staining, or musty odor
- Look at nearby fasteners and trim for rust streaking
- Note how long the issue has been visible and whether it's gotten worse after recent storms
- Ask any contractor you're considering whether they're diagnosing the cause or just patching the visible spot
Having these details ready helps any inspector — us included — get to an accurate assessment faster.
If you're seeing early signs of siding damage on a Treasure Island home, or you've already got a repair that didn't hold up through a storm season, we're happy to take a look. The estimate is free, there's no pressure to sign anything on the spot, and you'll get a straight answer on whether it's a repair or something bigger — just use the form below to get started.